iOS 17 marks the first update where I skipped the beta. Instead, I waited patiently for the to arrive. I updated the software on my iPhone 14 Pro on Monday, like millions of eligible iPhone owners must have done.
At first sight, iOS 17 looks a lot like its predecessor. There’s nothing spectacular about it, and maybe that’s a good thing. Maybe iOS 17 will be the more stable and reliable release I’ve been waiting for.
Sign up for the most interesting tech & entertainment news out there. By signing up, I agree to the and have reviewed the That said, I don’t necessarily want to use every feature in iOS 17, some of which are turned on by default. Similarly, I do want to take advantage of several other new iOS 17 features that might be turned off by default.
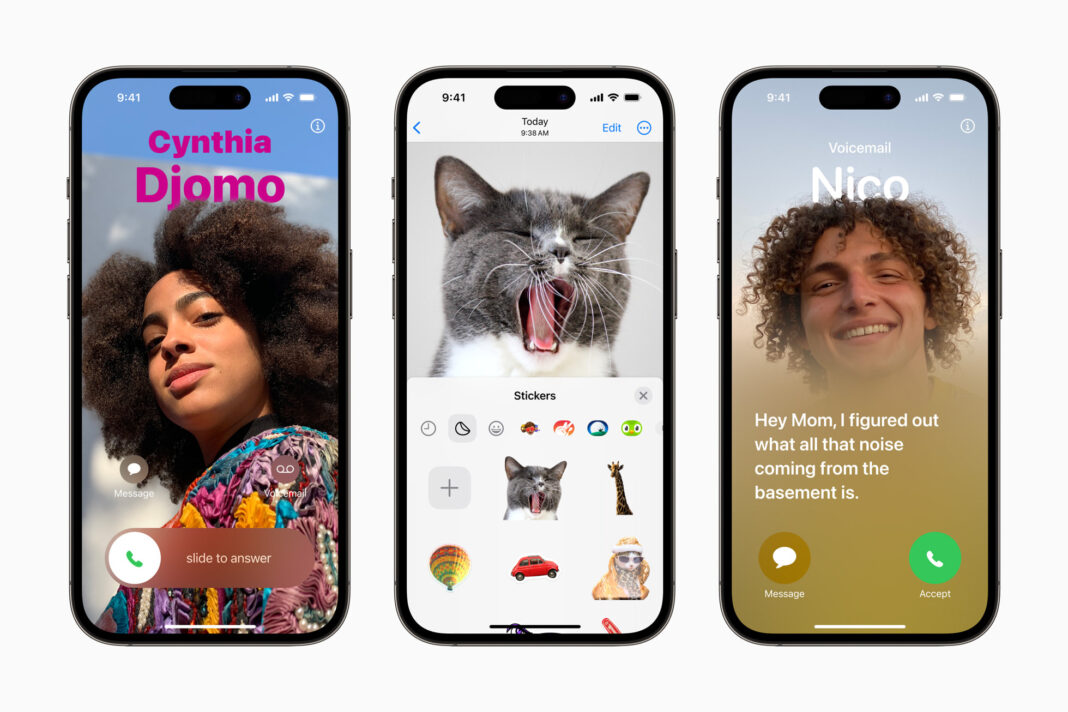
In what follows, I’ll show you the six iOS 17 settings I switched on or off as soon as I completed the iOS 17 install process. Contact Posters I don’t like Contact Posters, which we’ll all start seeing iPhone displays once more iPhone users start taking advantage of the feature. To me, it’s an unnecessary use of iPhone screen real estate.
And I don’t appreciate the artistic value of it either. Therefore, I knew going into iOS 17 that I would disable Contact Posters. If you want to do so as well, go to the app, tap , and deactivate it.
Next time you call another iOS 17 user, they won’t see your Contact Poster. However, there’s no setting for blocking other people’s Contact Posters. I realize that I might be in the minority here, and many will love the feature.
If you’re among them, use the menus above to customize your appearance for calls instead. StandBy I’m also in the minority when it comes to the new StandBy feature that turns the iPhone into a smart display while it’s docked and charging in a horizontal position. The feature works with wired and wireless chargers as long as you set the handset in a horizontal position.
StandBy is turned on by default in iOS 17, but placed a new menu in the app. Interestingly, StandBy is far higher in the list of settings than I expected, above and . Use the menu above to disable it if you don’t have any need for it.
The same menu will give you additional options for customizing StandBy as well. If you want to use StandBy, check out . Screen Distance One of the new health features that built into iOS 17 is called Screen Distance.
It essentially does what the name implies. It ensures that you keep your phone at a safe distance from your eyes, with the Face ID sensors in charge of measuring that distance. Screen Distance isn’t turned on by default, however.
Go to , , and then to toggle it on. Once that’s done, iOS 17 should show a new splash screen informing you that the iPhone is too close to your eyes when it detects an unsafe screen distance. I’ll also point out that if you keep seeing the pop-ups, the feature might be useful for you.
And you might want to consider setting up an appointment with an eye doctor. Password-protected private browsing in Safari I’ve been using Safari in private browsing mode on my iPhone for years. I don’t know exactly when I made the switch, but I never went back to regular browsing.
The point is that I want to limit tracking as much as possible, and Apple’s Safari helps me do that. iOS 17 adds another handy privacy feature to Safari. You can password-protect your private browsing by going to the app, tapping , and enabling .
This adds another security layer to your data, especially if the iPhone falls into the wrong hands. You will probably get a pop-up in Safari as soon as you upgrade to iOS 17 about the feature. That’s what caused me to turn it on right away.
Sensitive Content Warning iOS 17 also includes another handy privacy feature that you’ might’ll hopefully never need. I’m putting it on this list of iOS 17 settings as it’s something you should consider if you let children use your iPhone. Or enable it on their devices after they upgrade to iOS 17.
is a new setting in the menu of the app. Turn it on, and the iPhone will detect explicit photos and videos before you can view them. It also offers the user guidance before they click through to see the content.
The feature works in various Apple apps, including AirDrop, Contacts, Messages, and Video Messages. You can’t add other apps to the list, however. “Hey Siri” for me, thank you very much This one isn’t as big of a deal, or it shouldn’t be for most people.
iOS 17 now lets you use “Siri” instead of the old “Hey Siri” prompt to invoke the virtual assistant. But since I’m already trained on the old appellative, and especially since I’m known to criticize Siri when talking to others in real life, I decided to have Siri wake on my iPhone 14 Pro only when I say, “Hey Siri. ” By default, iOS 17 lets you use both prompts.
Go to , , and tap the menu to choose how to invoke the assistant. If you find that you’re invoking Siri accidentally too often, you might also want to go to the same settings menu to delete your dictation recordings from Apple’s servers. I’ll probably switch to “Siri” in the future once Apple makes it more useful.
.
From: bgr_com
URL: https://bgr.com/tech/6-ios-17-settings-i-changed-after-i-updated-my-iphone/


